
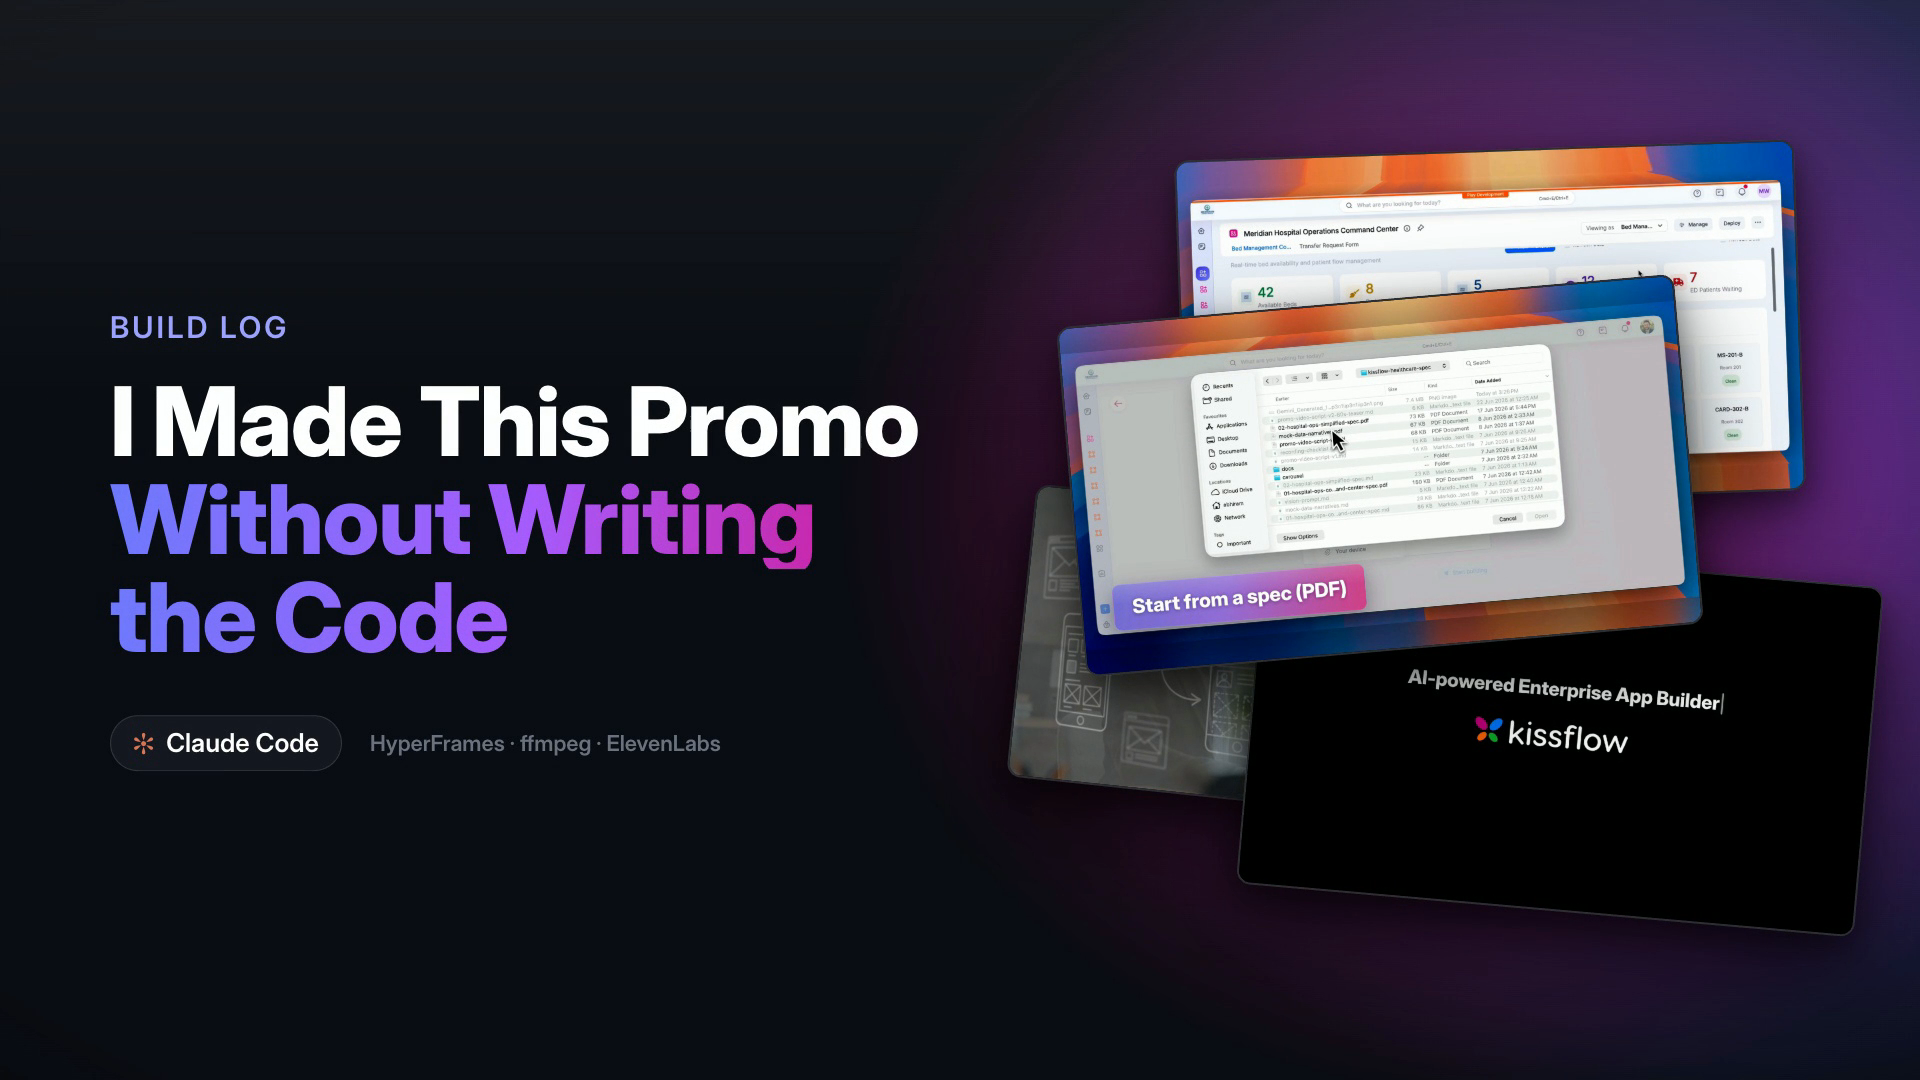
We were launching a new AI feature, an app builder, and it needed a promo. A sixty-second teaser, not a tutorial, the kind that makes someone feel the shift and want to try it. I run the documentation team. I am a words person. I have never written a line of video code in my life.
I built the whole thing anyway, start to finish, with AI doing the hands-on work and me directing. This is the honest walkthrough of how, every stage of it, so you can run the same pipeline. None of it needs you to be an engineer. All of it needs you to know what good looks like and to keep saying so until you see it.
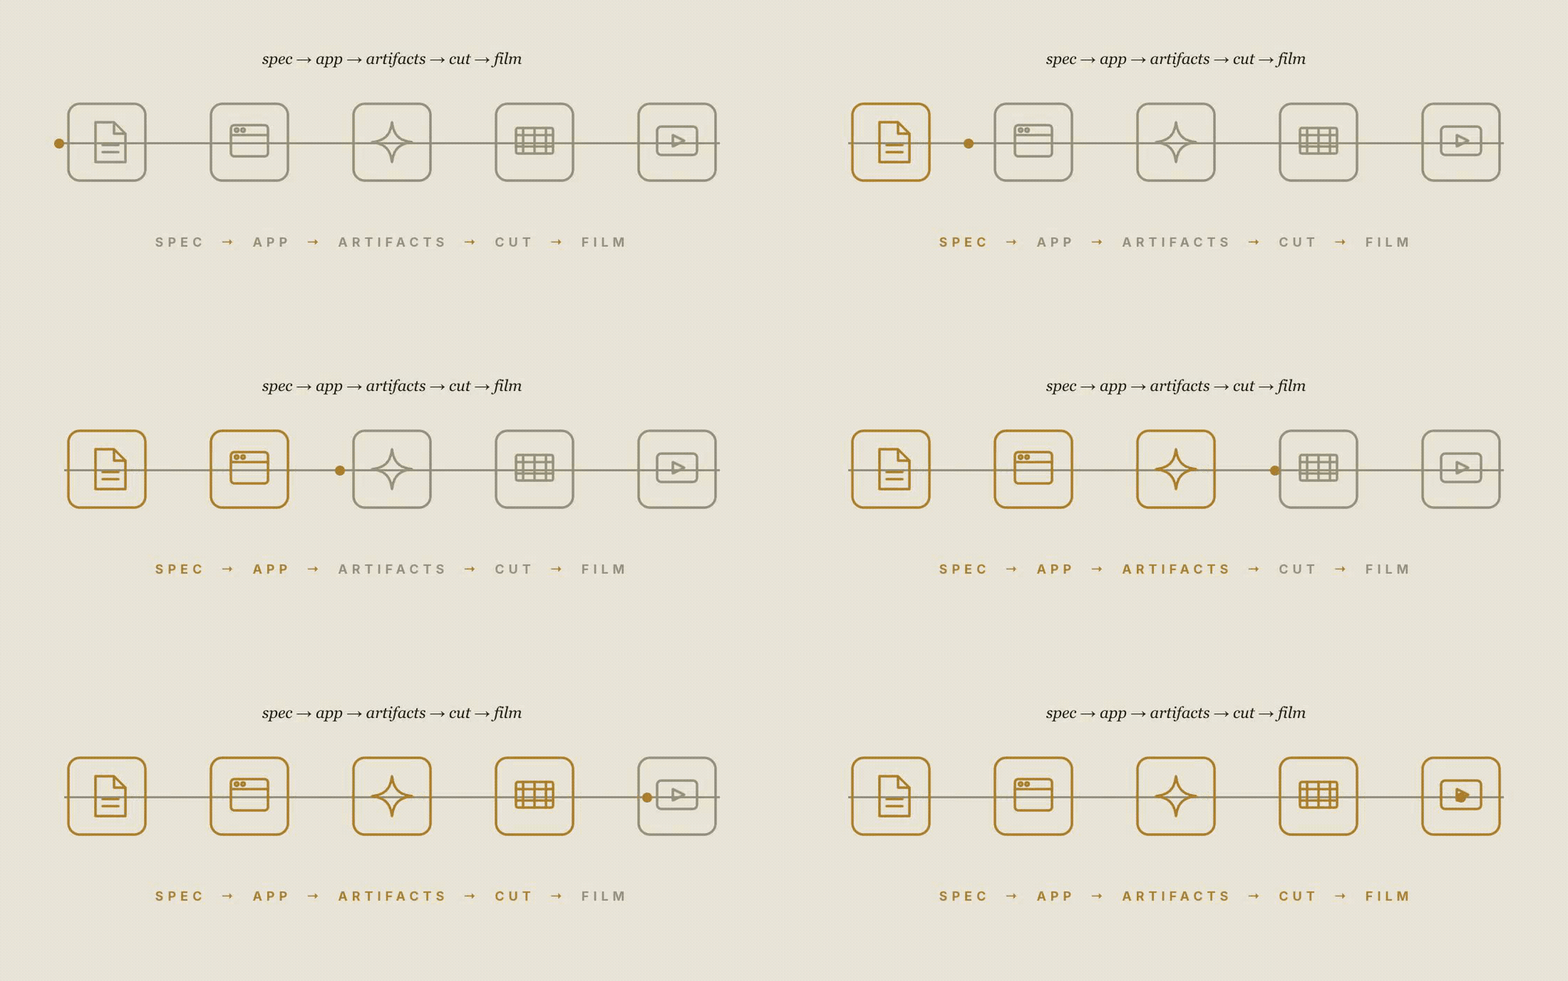
Here is the shape of the work before we go deep. Nine stages, roughly in order, though in practice they loop.
- Set up the workshop. The tools and environments, wired once.
- Pick the use case. The one app the whole film will show.
- Write the spec. A requirements document detailed enough to build from.
- Build the app with AI. Spec in, working enterprise app out.
- Write the script. The beat sheet and the voice, locked to a house style.
- Generate the artifacts. Invented images and b-roll, then cleaned up.
- Record the screens. Real captures of the real app.
- Cut it together. Assemble, trim, add transitions.
- Caption and composite. Text overlays, glass cards, the end card.
Stage 1: Set up the workshop
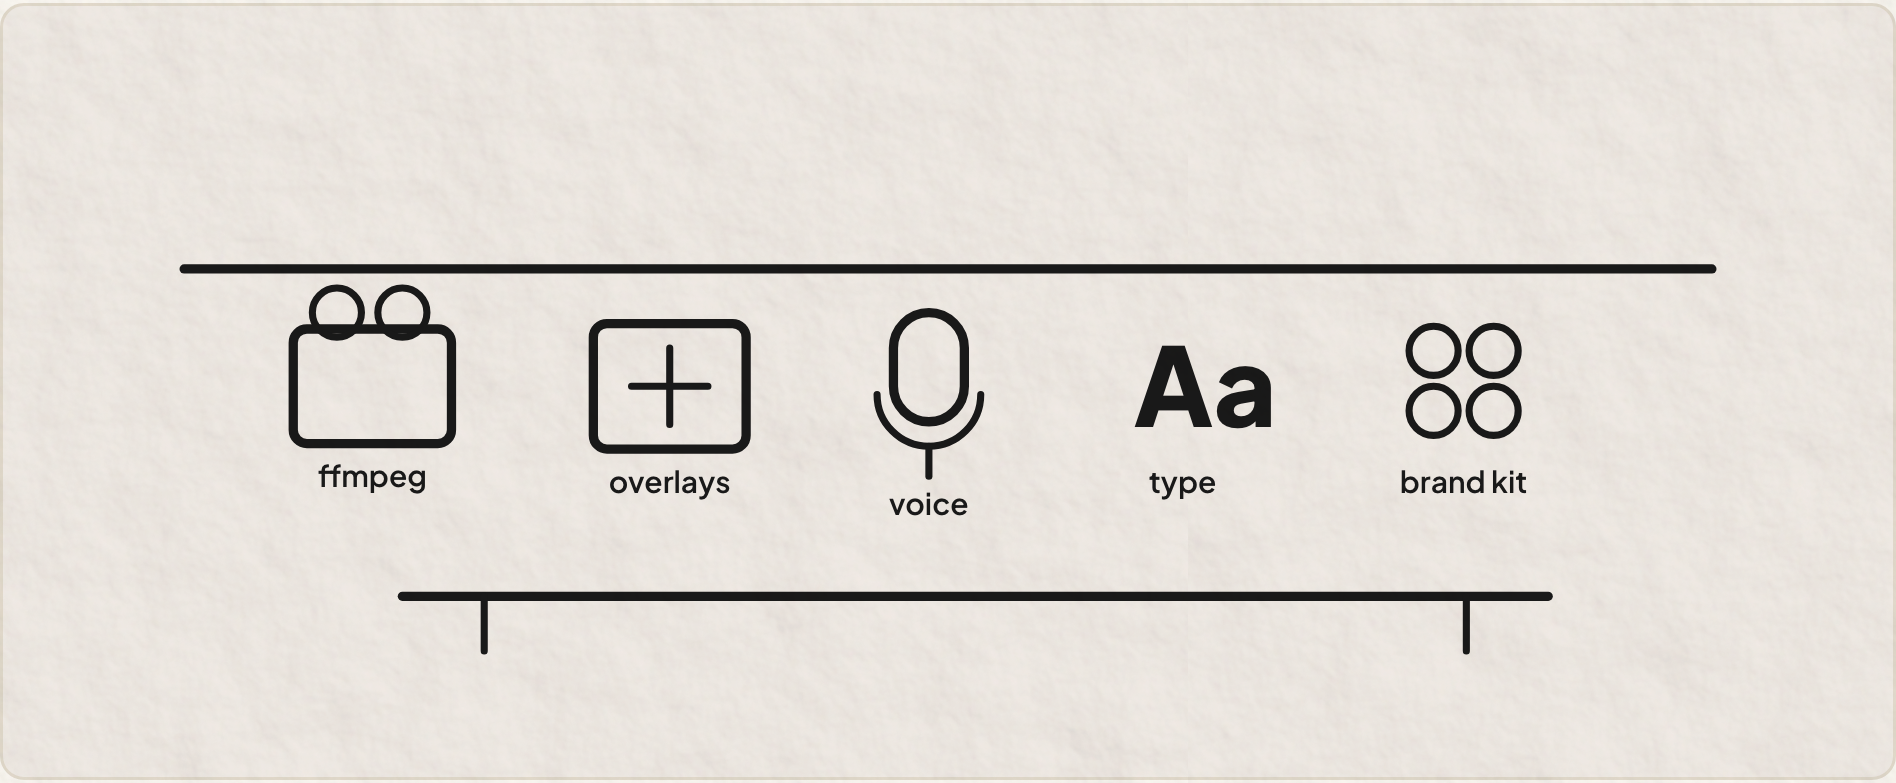
Before any of the fun, you wire the bench. This is the unglamorous part nobody blogs about, and skipping it is why people give up on day one. My setup: Claude Code running the Opus 4.8 model as the agent in the terminal that conducts everything, ffmpeg for every video operation, HyperFrames for the motion-graphics overlays, ElevenLabs for the voiceover, the open-source Inter typeface, and the real brand kit so the logo is never the garbled AI version.
Two of those are worth a special note. HyperFrames and a video pipeline called video-use are structured skills, packaged recipes the agent loads on demand for one kind of job. A skill is the difference between asking an agent to wing it and handing it a checklist it has run a hundred times. On a job this sprawling, leaning on them is most of what kept it from sliding into chaos.
One real gotcha lives here. The overlay tool needed a newer runtime than my default, and the first render quietly flattened the transparency. Five minutes of pointing it at the right runtime fixed it. Workshops are like that. Sharpen the tools first, or every later stage bleeds time.
! The boring setup stage is load-bearing. A half-wired bench does not announce itself. It just makes every later step mysteriously fail.
Stage 2 & 3: The use case, and a spec the AI can build from
A promo is only as good as the thing it shows. I picked one concrete, believable enterprise scenario, a hospital operations command center, the kind of app a real business user would actually need. One use case, shown well, beats five shown shallowly.
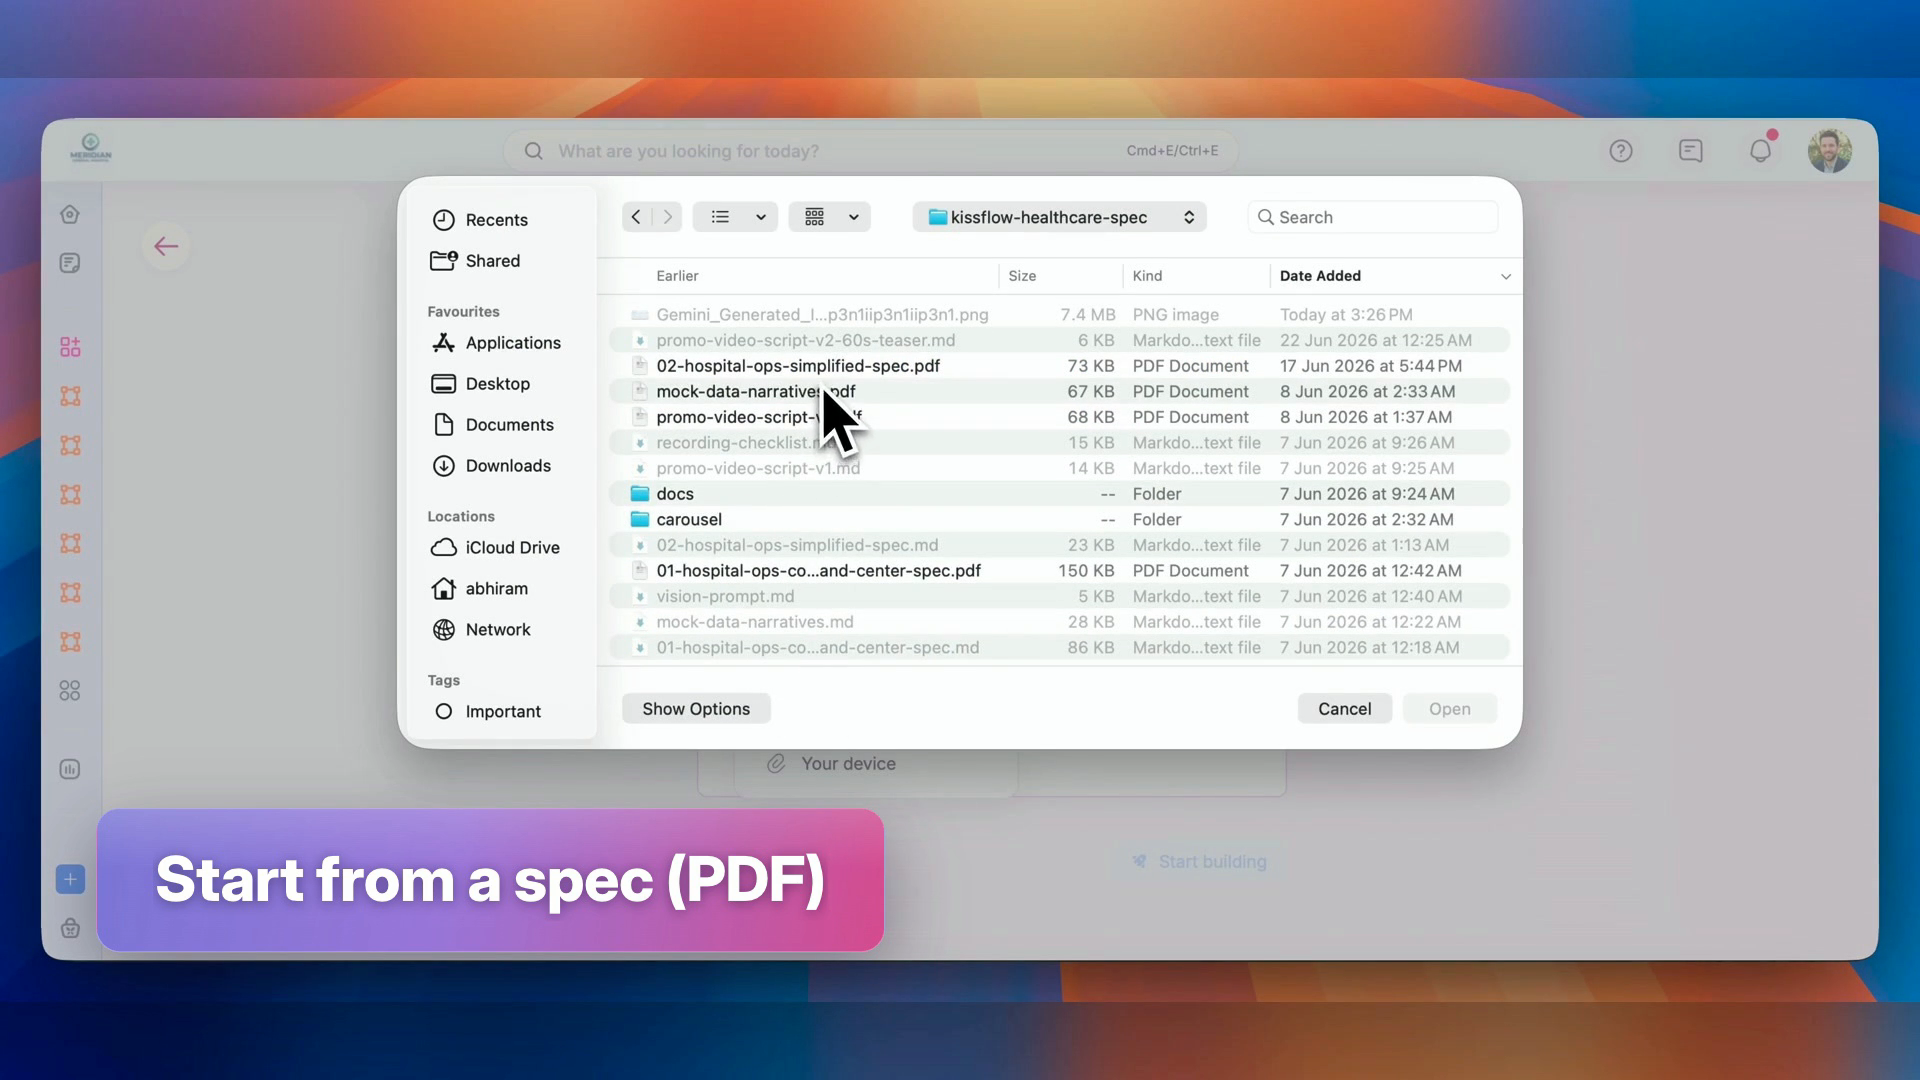
Then the part that surprised me most: the app was not mocked up. It was genuinely built, from a written specification. I wrote a requirements document, the screens, the roles, the data, the logic, and handed it to the AI app builder. A long, plain-language spec went in. A working app came out, with real roles, real forms, a real approval process, real dashboards with live numbers.
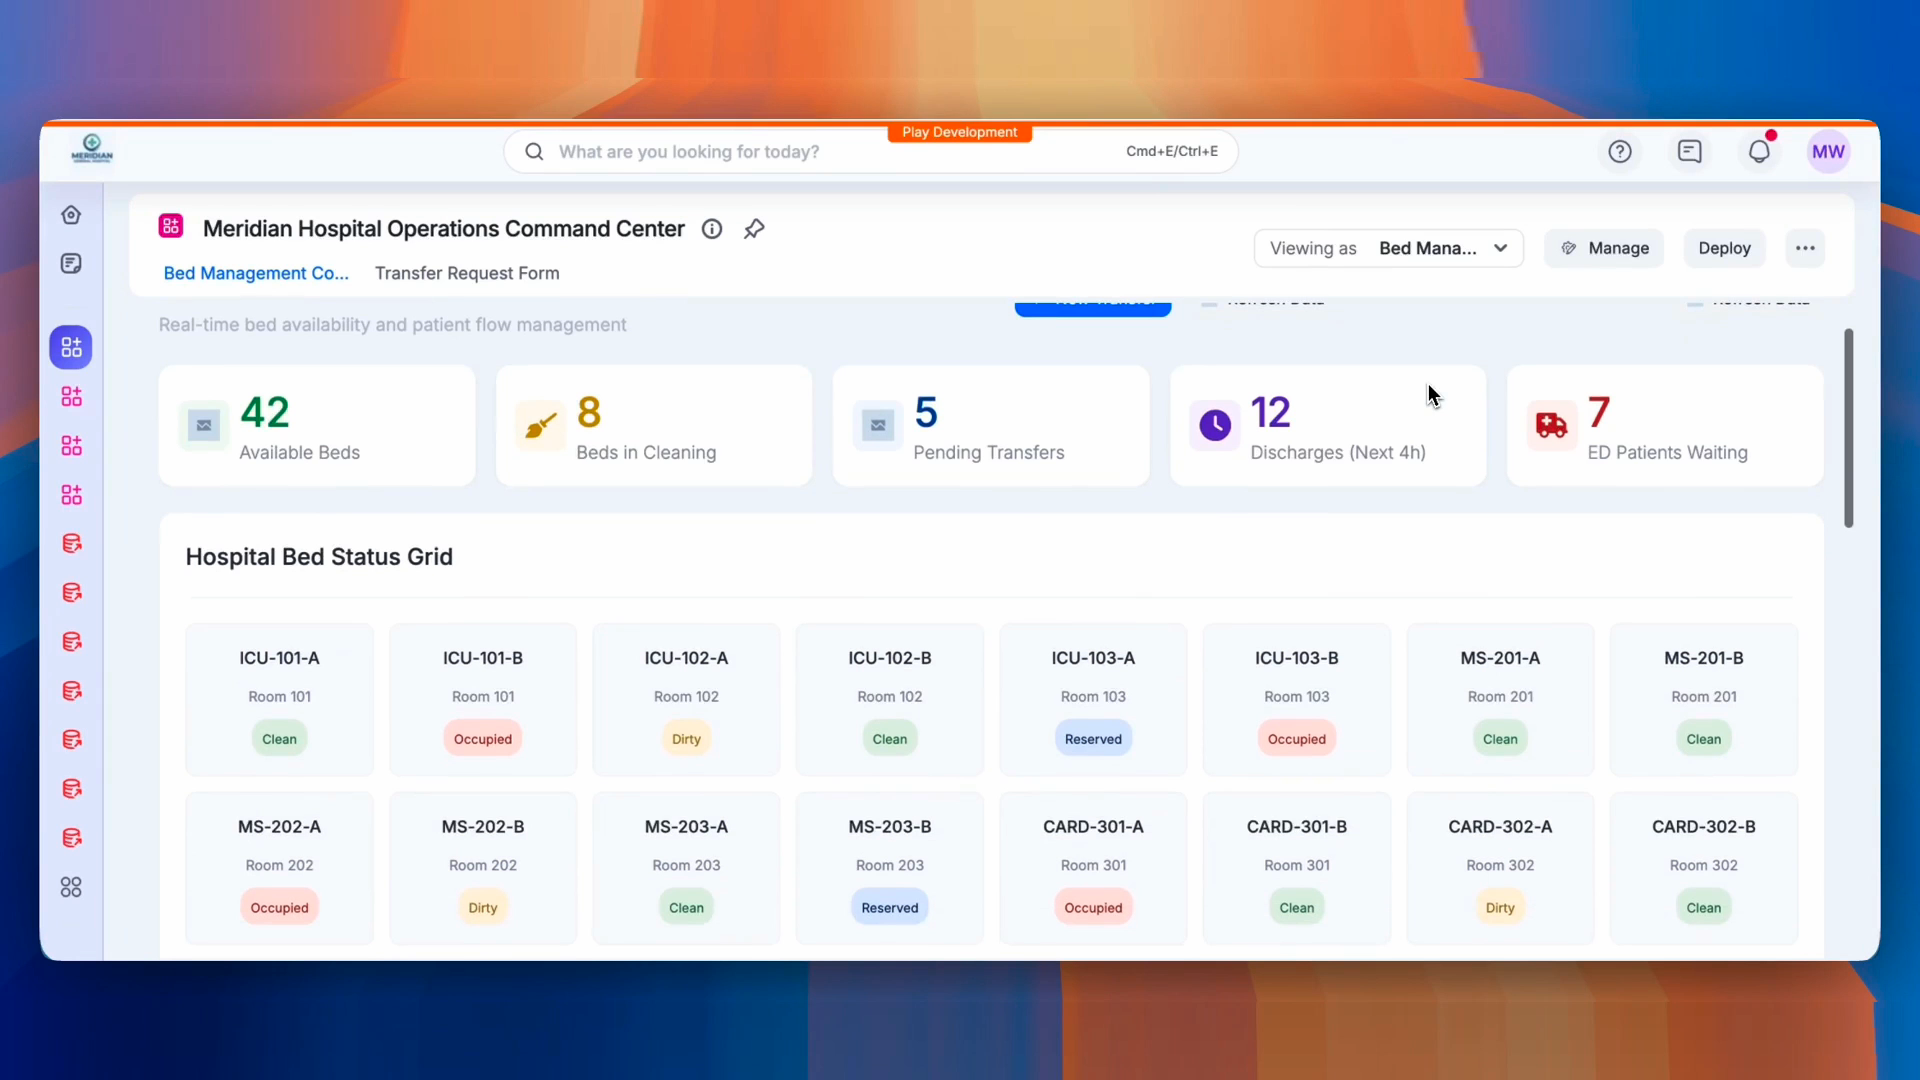
This matters for the promo because it is the actual claim of the product. So the film could show the real thing doing real work, not a pretty fake. If you are documenting a product, you already know how to write a spec. That skill ports straight over.
Stage 4: Write the script, and respect the house style
The script is where a promo lives or dies, and it is pure writing, no tools required. We had a house style locked from an earlier teaser, and I held to it hard. Subdued and confident, not loud. No manufactured frustration, no villain, no urgency cuts. The product meets the viewer where they already are. The voiceover is unhurried. You let the lines land.
Structurally it is a two-column beat sheet, script on the left, the exact visual on the right, with rough timecodes. A single visual thread bookends the film: the app you imagine appears as a faint sketch at the open, resolves into the real thing, and returns at the close. That spine is what makes sixty seconds feel composed instead of scattered.
Restraint is the brief. The confidence comes from stillness and clean product motion, not from energy.
Stage 5: Generate the artifacts, then clean them up
Not everything is a screen recording. The film opens on a person at a desk with the imagined app drifting around them as faint wireframes. There is no stock footage budget and no shoot. So those shots were generated. I used an image model for the invented stills and a video model for the short b-roll clips, described in plain language, the same way I would brief a photographer.
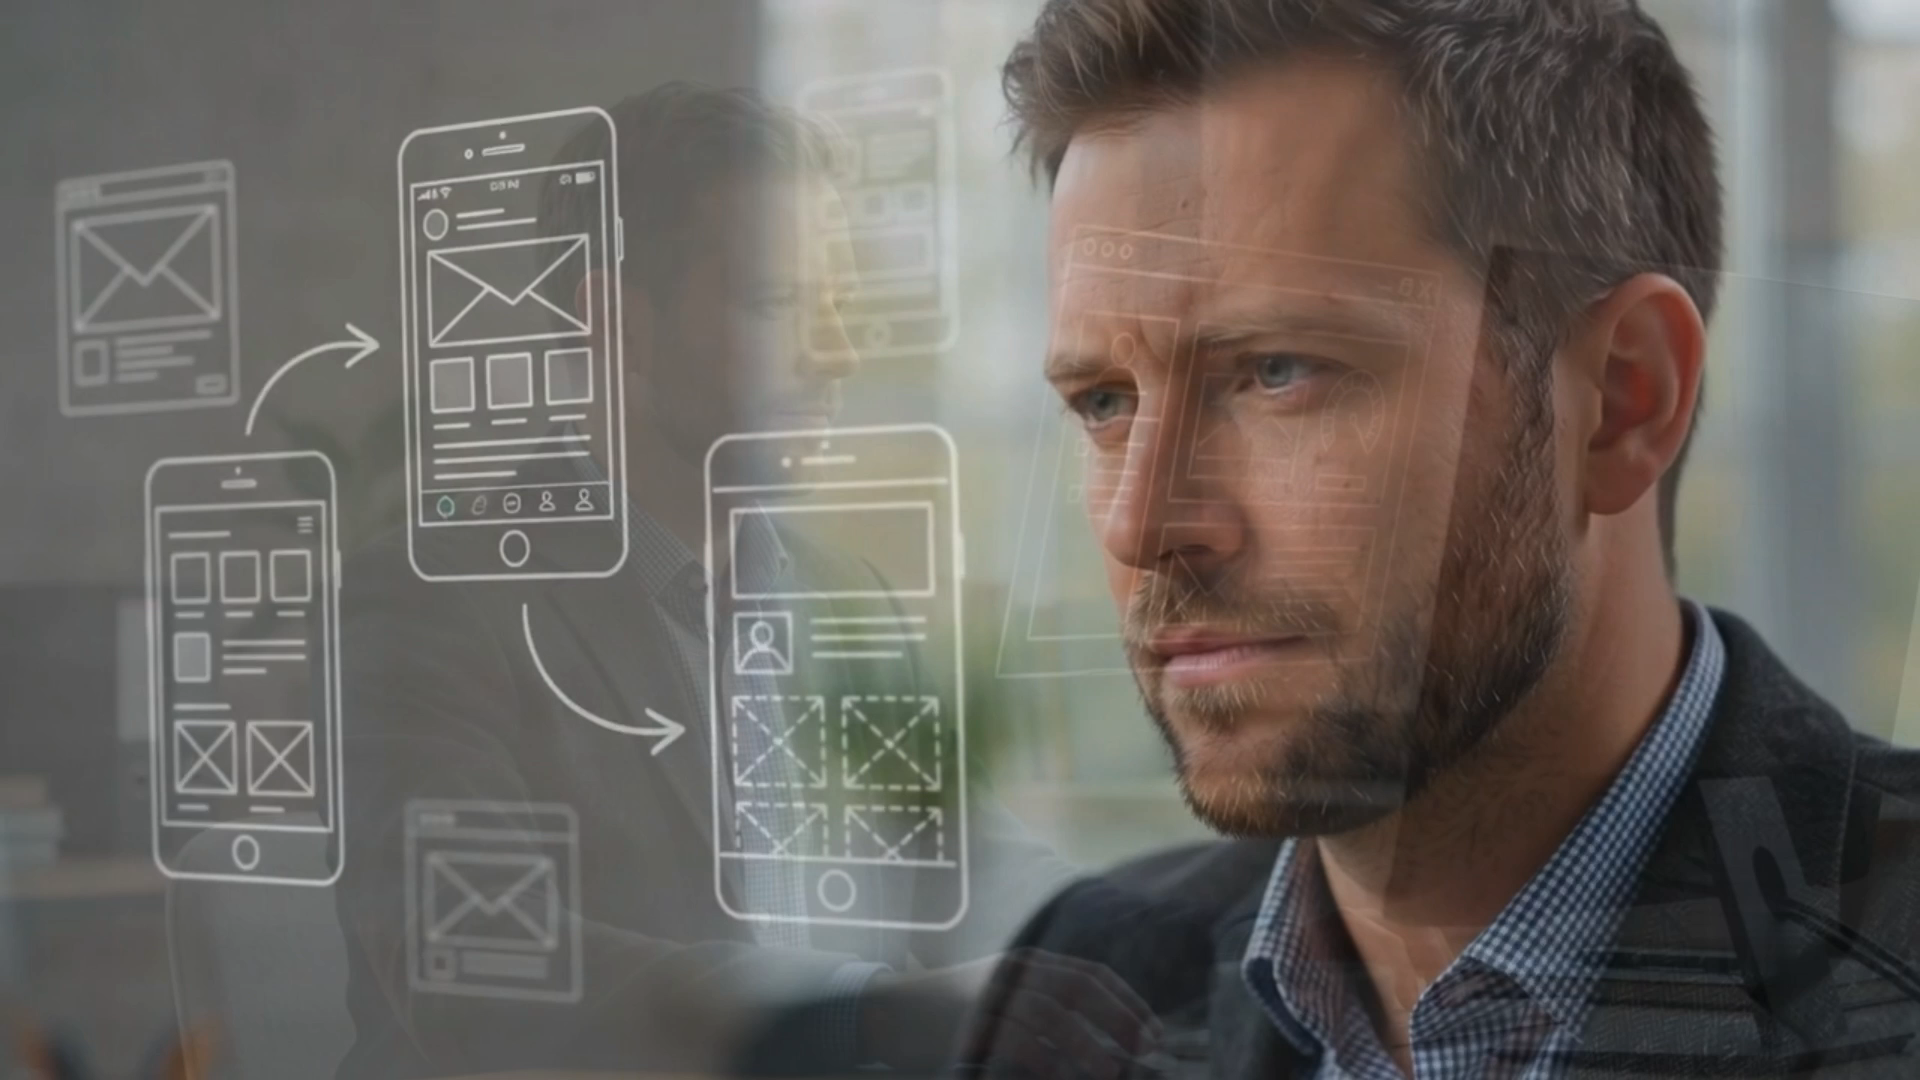
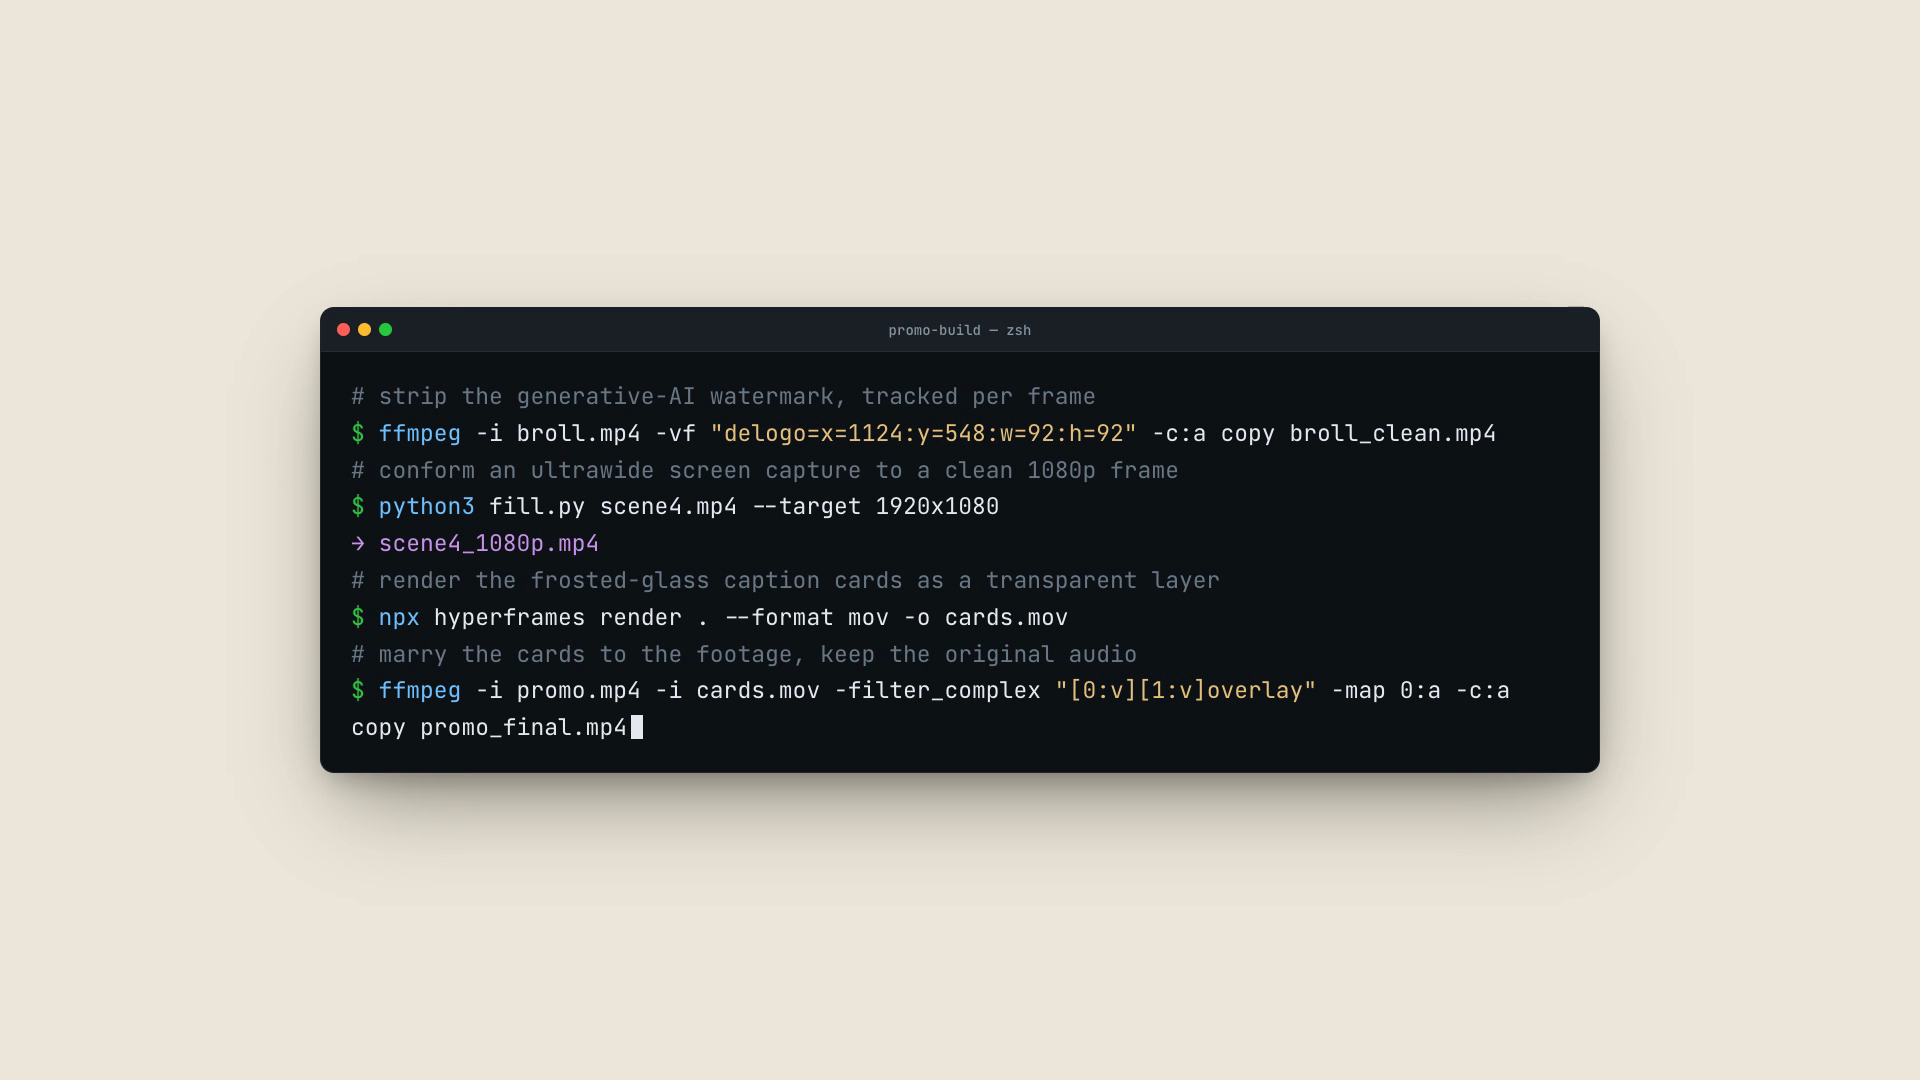
Generated footage comes with a tax, though. The clips arrived with the model’s watermark stamped in a corner, the b-roll was an odd ultrawide size, and the AI-rendered logo was a garbled rainbow smudge instead of our real four-petal mark. None of that is acceptable in a brand film. All of it is fixable with a couple of commands, which I described and the agent ran.
# strip the generative-AI watermark (a moving target, tracked per frame)
ffmpeg -i broll.mp4 -vf "delogo=x=1124:y=548:w=92:h=92" -c:a copy broll_clean.mp4

# conform an ultrawide capture to a clean 1080p frame, no stretch
python3 fill.py scene4.mp4 --target 1920x1080
# → scene4_1080p.mp4
One of those watermarks was not even static. It was a little badge that drifted and shrank as the shot zoomed, so a single fixed patch could not cover it. It had to be followed across two hundred-odd frames, each a different size and position, the background rebuilt underneath it every time. I could not have written that tracker. I could describe the problem precisely and check the result at four timestamps. That division of labor is the whole game.

Not every artifact was visual. The narration itself was generated, not recorded in a booth. I had ElevenLabs read the script back as text-to-speech, calm and even, matched to the restrained tone the house style asks for. One more asset described in a sentence and produced on demand.
Stage 6 & 7: Record the screens, then cut it together
The product footage is real. I recorded the app with a clean screen-recorder, beat by beat, matching the script’s right-hand column. Slow, deliberate captures, one per moment the script calls for. Recording to the script, not freestyling, is what saves you in the edit.
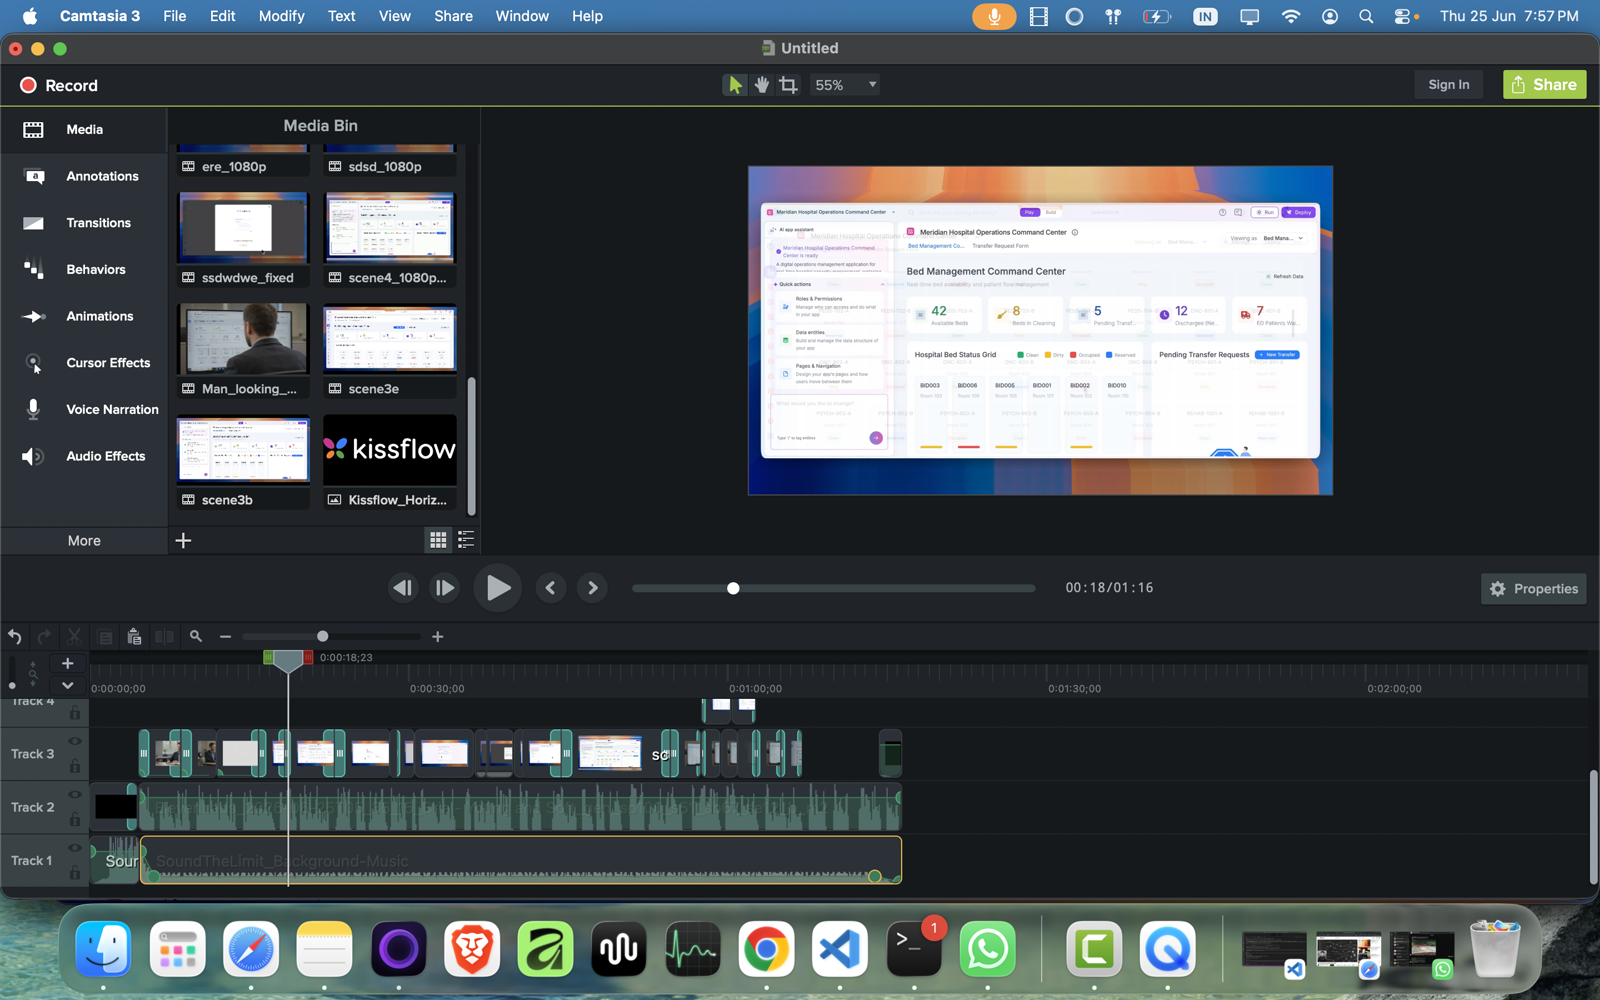
Then the assembly. This is the one stage where I sat in a traditional editor, Camtasia, on a timeline, laying clips across tracks, trimming each to its beat, and dropping smooth transitions between them so nothing hard-cuts. Generated b-roll and screen captures on the upper track, the ElevenLabs voiceover and a bed of background music on the audio tracks below, holding the timing. The editor is where the separate pieces finally become a film.
That editor could have been a browser tab. OpenCut, an open-source tool formerly called AppCut, gives you the same timeline, the same tracks and trims and transitions, running locally in the browser with nothing uploaded to a server. It is younger and rougher than a paid desktop app, and the transition set is thinner, but for a short promo it covers the job, and the privacy is genuine. The footage never leaves your machine.
There is a stranger option, and it is the one I keep circling back to. You can drop the timeline and write the edit as code. Remotion treats a video as a function of frames, built in React and rendered by a script instead of a mouse. ffmpeg.wasm runs the ffmpeg command line inside the browser, so a cut becomes an instruction, not a drag. That is a different sense of “in the browser” than OpenCut. One puts a familiar editor in a new place; the other turns the assembly itself into something you generate, which is the same move the rest of this promo already made. I did not go that far this time. I sat in Camtasia and moved clips by hand. But the timeline is the last manual island in an otherwise generated pipeline, and it is the one I expect to close next.
Stage 8: Caption and composite, where the polish lives
Now the part I obsessed over, and the part that taught me the most. The cut had no on-screen text, and a silent promo loses people. So it needed captions. The first pass was bad. White text on a dark strip along the bottom, every caption the same, the visual equivalent of a monotone. It was technically correct and completely lifeless.
So I told the agent, plainly, that it had done a terrible job. The bluntness mattered. I was refusing to accept “it works” in place of “it is good.” Those are different finish lines, and the whole job is knowing there is a second one.
! “It works” and “it’s good” are different bars. The machine happily stops at the first. Knowing there is a second one is your contribution.
But “terrible” is a feeling, not an instruction. What actually moved the work was getting specific. Make it extra-bold. Make it bigger. Stop parking everything at the bottom, move the cards around the frame. Put them in translucent gradient-glass cards in our brand colors, so the screen blurs softly behind the text instead of fighting it. Every one of those is a sentence a non-coder can write.
The cards themselves were built as code I could actually read, an HTML composition with the gradient, the glass blur, and the easing all spelled out, rendered to a transparent layer. For that I used HyperFrames, which authors motion graphics as an HTML page you can read and then render straight to video. The whole caption-and-composite stage ran through the video-use skill, which owns the cut-and-overlay mechanics so I could stay focused on how it looked instead of how it was wired. Getting real frosted glass meant a non-obvious trick: the footage had to sit behind the cards inside the composition, because a blur needs something to blur. A floating transparent layer has nothing behind it.
Then two tools did what each was good at. HyperFrames drew the caption cards. ffmpeg married that layer onto the footage and kept the original audio intact. The render and composite commands are below, and that whole back half of the pipeline is work I described and checked but never wrote by hand.
One more honest moment here. Midway, I suspected the fancy tool I had asked for was not actually running, that a simpler path was quietly doing the work instead. So I asked the dumbest possible question: did these two tools actually work together to build this? The answer was no. Knowing that changed the next instruction and jumped the result a level.
That verifying question comes straight from documentation work. You do not trust that the button works because the spec promises it does. You press the button yourself.
In a loop with a machine, the most useful thing you can say is often the dumbest: prove it.
Stage 9: The end card, and knowing when to stop
The film closes on the product name resolving above the real logo. Simple, but it took three rounds. Too big and it crowded the logo. Too tight and it looked cramped. The fix was nothing clever, just looking, nudging the size and spacing, and looking again until the gap felt right. That loop, look and adjust and look, is most of what design actually is.
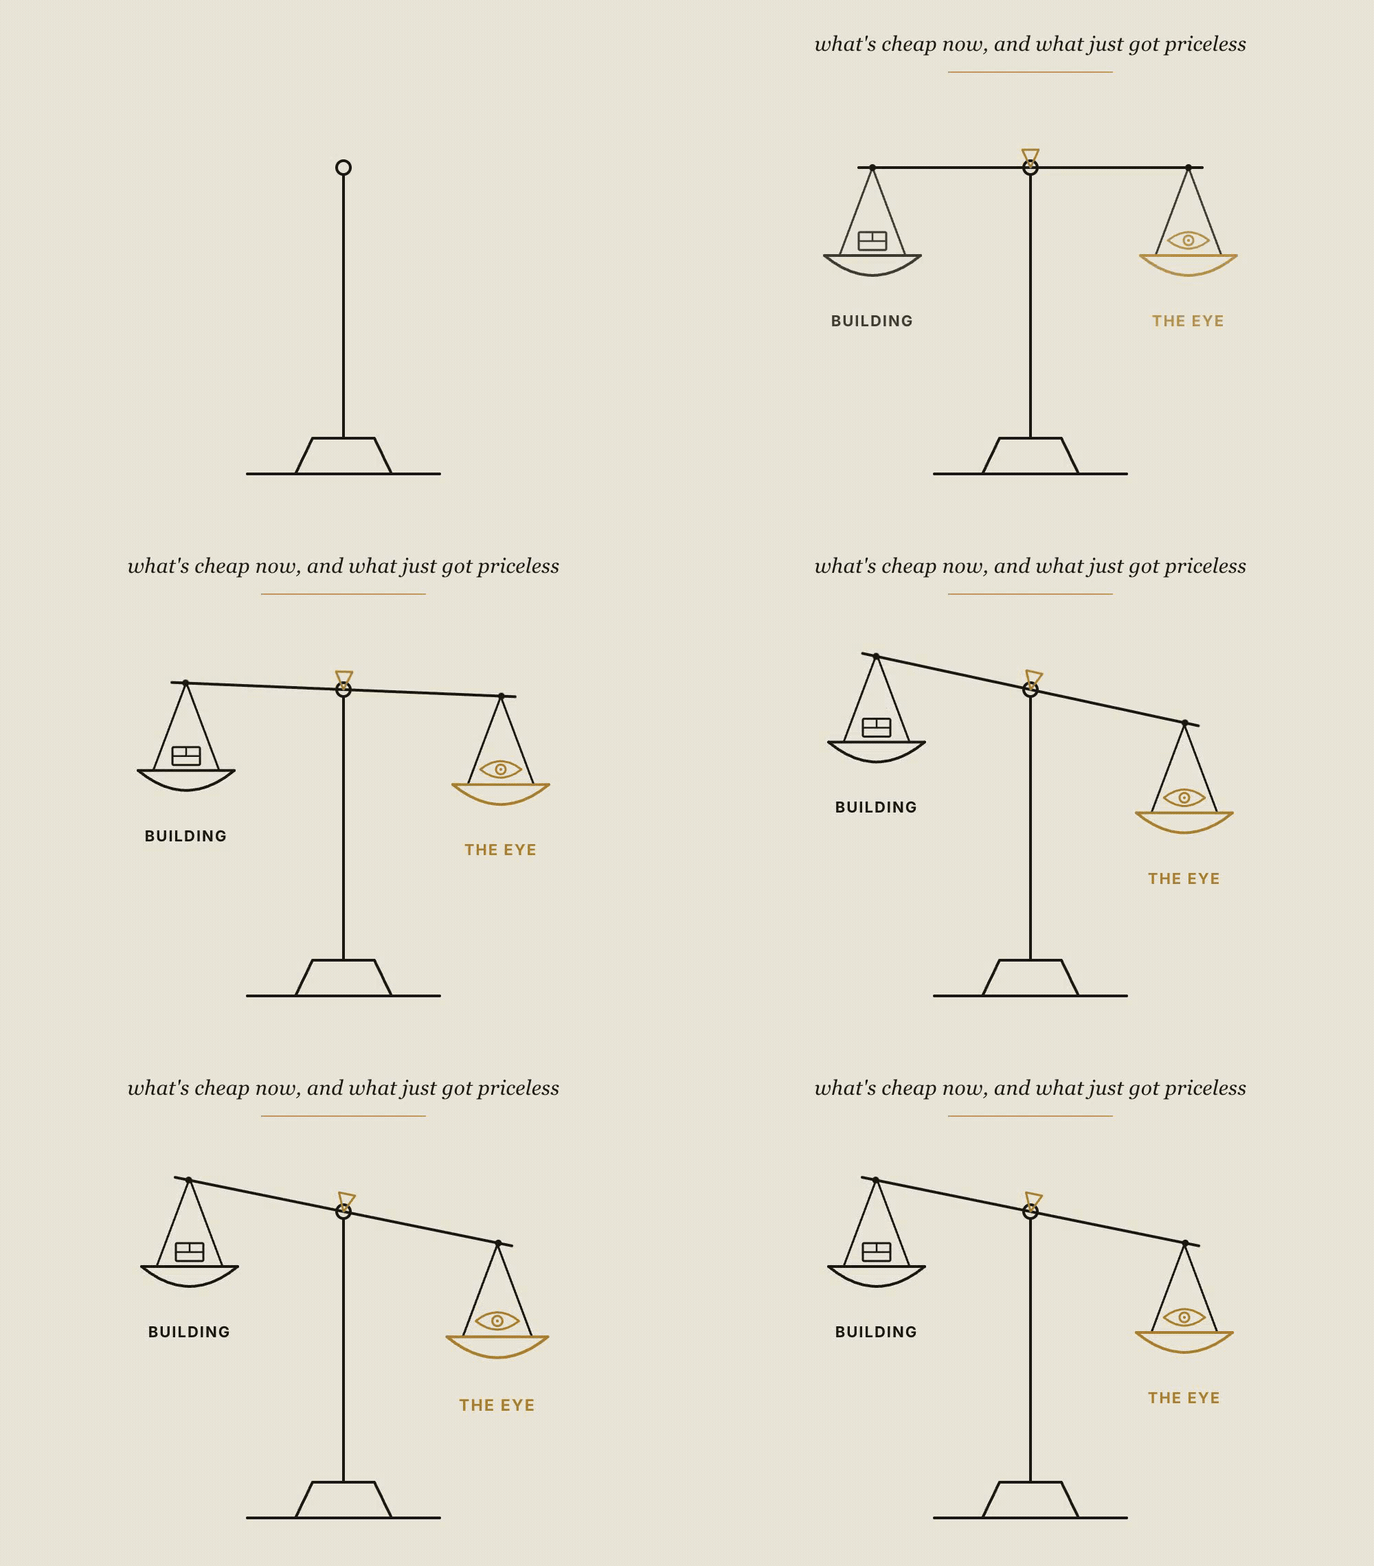
The hands got cheap. The eye got expensive.
Here is what I keep coming back to. Every building step in those nine stages collapsed into plain English. The tracking, the gradients, the easing, the compositing, the rendering, all of it became something I could ask for instead of something I had to know how to do.
But a whole set of things did not collapse. Picking the one use case. Holding the script to a restrained house style. Knowing the bottom strip was lazy and extra-bold read better. Knowing the end card was crowded. Asking whether the thing actually did what it claimed. None of that is a coding skill. It is taste, judgment, and editing, and editing is literally my job.
The work did not disappear when the tools got good. It moved up the stack, from the hands to the eye. And the eye is the part you cannot download. It only comes from years of caring whether something is good.
★ You don’t need to know how to build it. You need to know when it isn’t good enough yet, and the words to say why.
If you want to make a promo like this, the pipeline above is the whole map. Set up the bench, pick one real use case, build the real thing, write with restraint, generate and clean what you cannot film, record to the script, cut on a timeline, and caption with care. The tools will do the hands-on work. Your job is to keep looking until it is good. So learn to see. The seeing is the job now.
Written the day a sixty-second promo taught me where my job actually lives.